- |
-

- |
How to Change Your Cooker Hood Light Bulbs
- Home /
- News & Advice /
- How to Change Your Cooker Hood Light Bulbs
- September 5th, 2017
- 4 Comments
- Posted in advice centre, cooking
How To Change Your Cooker Hood Light Bulbs
When the light bulbs in your extractor hood, also referred to as a cooker hood, go, it can be extremely frustrating. Not only does it affect your visibility whilst cooking (potentially creating a safety hazard in itself), many often find it difficult to change cooker hood light bulbs.
In reality, it shouldn’t be any more challenging than changing a light bulb in your house.
Why do extractor hood lights stop working?
In addition to all of the reasons that normal household bulbs can have for failing, extractor hood bulbs are also far more susceptible to moisture getting inside and causing damage.
Cooker hood bulbs also aren’t supposed to be used for long periods of time and can become extremely hot through extended use (which you’ll know if you’ve ever touched them). When they get too hot, the filament can snap or the wiring to fail, both leading to the bulb becoming useless.
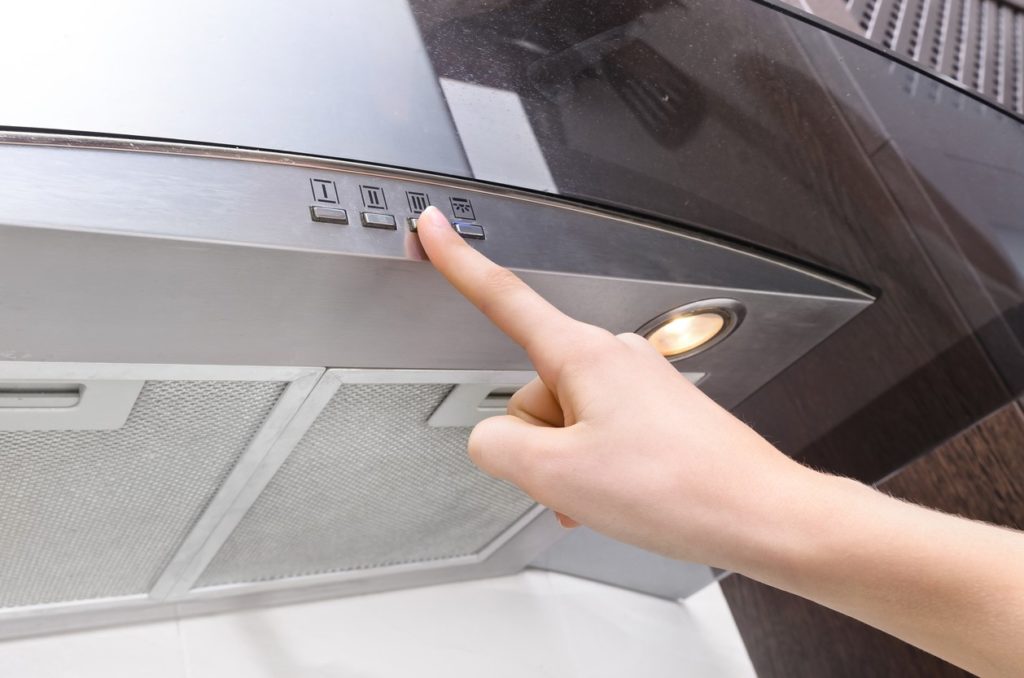
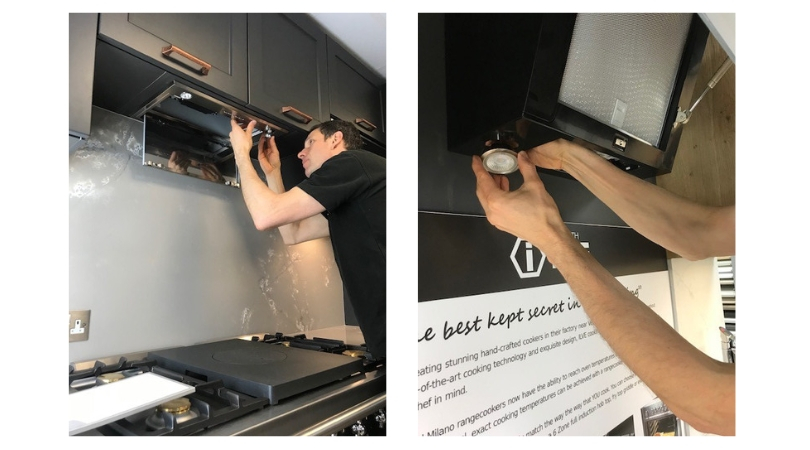
If you notice the light bulbs in your extractor hood have become faulty, follow these steps to swap them out with new ones.
Cooker hood light bulb replacement
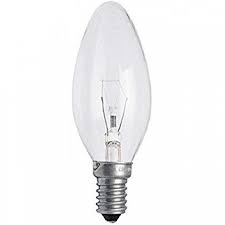
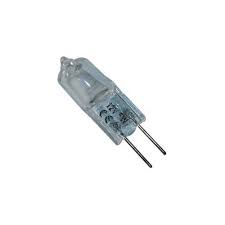
Bulb selection
Make sure you purchase the correct type of bulb, the most common ones are a candle type bulb on older hoods and 12v Halogen on newer hoods.
If it is a halogen bulb then you need to select the correct voltage and wattage which can be very difficult to read off the tiny bulb.
Fitting
Before you start any work it is really important that you turn off the power to the unit at the mains. This will ensure that there’s no electricity flowing through the appliance and eliminate the potential for an electric shock.
Secondly, if you have used your appliance recently, wait for it to fully cool down.
To replace the cooker hood lights:
- Remove the grease filters so that you can access the light bulbs (ignore this step if the light bulb cover isn’t hidden behind the filter covers on your model)
- Remove the lamp cover above the light bulbs by unclipping them from either side (or unscrew them if there’s screws on your model)
- Remove the old bulb carefully
- Screw/Push the new bulb in
- Click (or screw) the lamp cover back on
There you go, as easy as that!
Don’t forget if you do need the services of an extractor hood repair engineer, we’re always here to help.
Comments
MGlotech
Thursday, September 12, 2019 at 2:35 pmWhat bulb do you have?
Some bulbs don’t screw in, they are push fit or rarely some old hoods might have a bayonet fitting candle bulb.
On the small halogen bulbs they can be 12v or 230v/240v so you need to get the correct wattage and voltage which can be hard to read on the tiny bulb.
Paul Walker
Friday, November 1, 2019 at 12:59 pmBulb gone out in extractor hood put a new halogen one in, but still won’t work, though the other one does. Any ideas
Stuart
Monday, January 11, 2021 at 4:15 pmPurchased 40w screw fitting bulb from High Street shop. However it does not fit into my Whirlpool hood. The screw pitch appears to be different. Does Whirlpool use unique screw pitch?
Leave a Reply
Jean
Thursday, September 12, 2019 at 1:26 pmFollowed instructions but bulb won’t screw in. Sits flat but won’t stay in!
Thanks